Spring cleaning does not have to be exhausting or overwhelming. With a few simple systems and smart shortcuts, you can declutter, deep clean, and completely refresh your home with far less effort than you might expect.
Spring is the perfect moment to reset your space, lighten the visual load, and let in a feeling of freshness. By focusing on quick wins first and then moving step by step through each room, you can transform your home without marathon cleaning days. These effortless spring cleaning tips will help you create a lighter, healthier, and more organized living environment that supports your daily life.
Quick Decluttering Wins To Kickstart Spring Cleaning
The fastest way to feel instant progress is to start with small, visible decluttering wins. Focus first on entrances, coffee tables, kitchen counters, and nightstands. These are high-impact areas where clutter collects and where you will notice changes immediately. Removing just a few piles from these spots can make your home look cleaner even before deep cleaning begins. In my experience helping families reset their homes, starting with surfaces provides a strong motivational boost that keeps them going.
Create a simple “sort and move” system using three containers: keep, donate, and recycle/trash. Set a timer for 15 to 20 minutes and work in quick bursts, moving from one visible area to the next. During these sessions, avoid opening closets or drawers so you do not get sidetracked. The goal is momentum, not perfection. Factual note: donating items in good condition to local charities or reuse centers keeps usable goods out of landfills and can often be scheduled as a pickup for extra convenience.
Once the main surfaces are clear, address quick decluttering targets that often get ignored: expired food in the pantry, old magazines, broken items you never fix, and duplicates like extra spatulas or phone chargers. Consider these easy guidelines: if it is expired, damaged beyond simple repair, or unused for over a year (and not seasonal), it likely does not need to stay. From hands-on work with clients, I have found that letting go of the first box of unneeded items is the hardest part, and every box after that becomes noticeably easier.
Creating A Simple Spring Cleaning Plan You Can Stick To
A written, realistic plan transforms spring cleaning from a vague intention into a manageable project. Begin by listing all the spaces in your home, including hallways, entryways, and storage areas. Then assign each one a priority rating: high, medium, or low. High-priority areas are places you use daily, such as the kitchen, bathroom, and living room. This prioritization ensures you see and feel the benefits of your work sooner, which makes it easier to maintain motivation.
Next, break each room into tasks that take 20 to 45 minutes instead of planning full-day marathons. For example, “Kitchen” becomes “upper cabinets,” “fridge and freezer,” and “under-sink area.” Put these mini-tasks into a weekly calendar, limiting yourself to one or two sessions per day. Based on my past work with busy homeowners, I have found that short, consistent cleaning sessions are far more sustainable than an occasional intense weekend overhaul. Factual note: working in smaller blocks of time also reduces strain on your body and helps avoid repetitive motion fatigue.
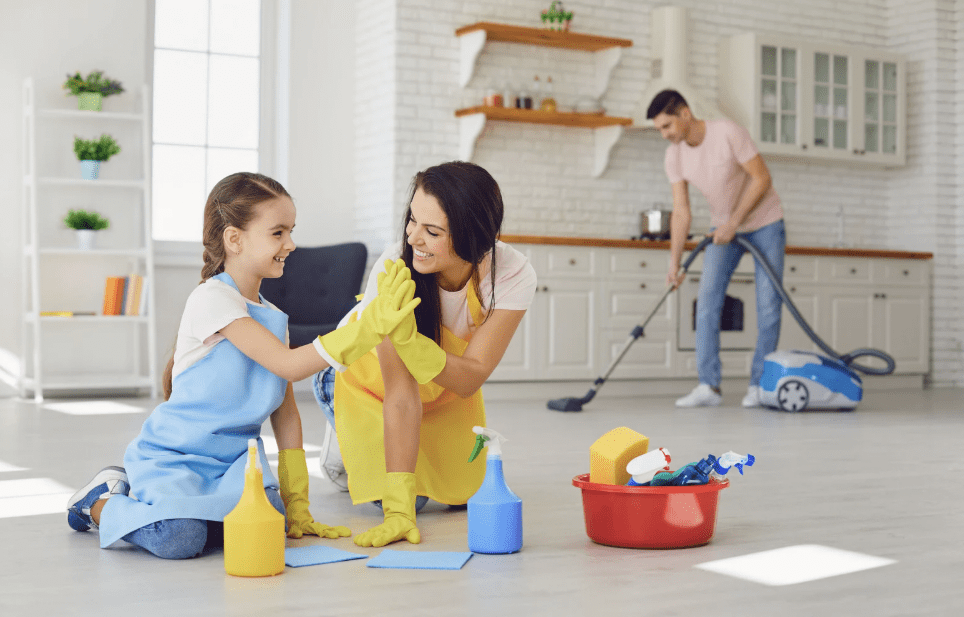
Make your plan visible. Post it on the fridge, share it with family members, or save it in a note on your phone with checkboxes. If several people live in your home, assign tasks based on age and capability, such as asking children to sort toys while adults handle chemicals or heavy lifting. To keep the energy positive, pair each cleaning block with a small reward, such as a favorite podcast, a cup of tea afterward, or a short walk outside. Over a few weeks, this modest system can produce a full spring refresh that actually feels achievable.
Efficient Tools And Products For Easier Spring Cleaning
Having the right tools on hand makes spring cleaning feel smoother and more efficient. A basic kit should include: a vacuum with attachments, a mop or microfiber floor cleaner, microfiber cloths, a duster, a scrub brush, and a bucket. Microfiber cloths are especially useful because they trap dust and dirt more effectively than many traditional rags and can be washed and reused, which is both economical and environmentally friendly. For safety and performance, follow manufacturer instructions on vacuums and cleaning devices, particularly regarding filters and electrical cords.
Choose a small set of versatile, safe cleaning products to avoid cluttering your cabinets. Many homes do well with just a gentle all-purpose cleaner, a glass cleaner, a bathroom-specific cleaner that can manage soap scum and limescale, and a wood-safe polish if you have natural wood surfaces. When working with stronger products such as limescale removers or disinfectants, keep rooms ventilated and wear gloves to protect skin. Factual note: disinfecting products must typically remain on surfaces for a specified “dwell time” (often 5 to 10 minutes) to be fully effective; check each label for exact details.
From hands-on projects, I have found that a caddy or tote for your main supplies saves a surprising amount of time. Instead of walking back and forth to a cabinet, everything travels with you from room to room. You can further simplify by using color-coded cloths for different areas, such as blue for glass, yellow for bathrooms, and green for kitchens. This small system helps maintain hygiene and avoids cross-contamination, especially important when moving between bathrooms and food prep spaces.
Room-by-Room Deep Cleaning For A Fresher Home
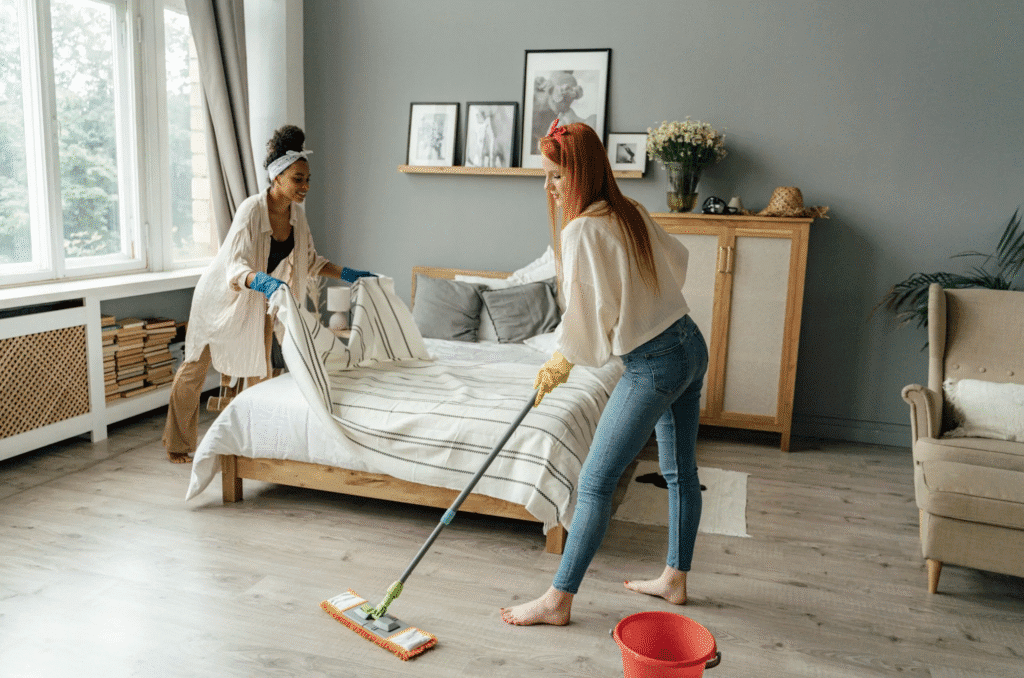
A room-by-room approach to deep cleaning keeps the process logical and prevents you from feeling scattered. Start with spaces that influence your daily comfort the most, usually the bedroom, bathroom, and kitchen. Work in the same order in every room: declutter, dust from top to bottom, then clean surfaces and floors. This consistent sequence becomes automatic and speeds up each session. In my experience organizing whole-house refreshes, repeating the same pattern in each room dramatically reduces decision fatigue.
Begin with the bedroom, since better sleep supports your energy for the rest of your spring cleaning. Wash or dry-clean bedding according to fabric care labels, including duvet covers and mattress protectors. If the mattress manufacturer allows, vacuum the mattress using an upholstery attachment to remove dust and debris, and rotate or flip it if recommended. Factual note: experts generally suggest washing sheets every one to two weeks to reduce dust mites and maintain hygiene, especially for allergy-prone individuals.
Move next to bathrooms and kitchens, where humidity and food residues can lead to grime and odors if left alone. In the bathroom, focus on high-contact and moisture-prone areas like faucets, shower doors, and grout lines using appropriate cleaners and a soft brush. In the kitchen, empty one cabinet at a time, wipe shelves, and re-home items logically so frequently used tools are easy to reach. Based on my past work with clients, tackling small zones like “one cabinet” or “one drawer” keeps deep cleaning from feeling endless while still building toward a completely refreshed space.
Freshening Fabrics, Upholstery, And Soft Surfaces
Soft surfaces hold onto dust, odors, and allergens, so refreshing them has a big impact on how clean your home feels. Start with items that are easy to wash: pillow covers, throw blankets, shower curtains (if machine safe), and washable rugs. Always check care labels for fabric type, recommended water temperature, and drying instructions, especially for delicate fibers or items with special coatings. Factual note: using the gentle cycle and air drying or low heat extends the life of many home textiles.
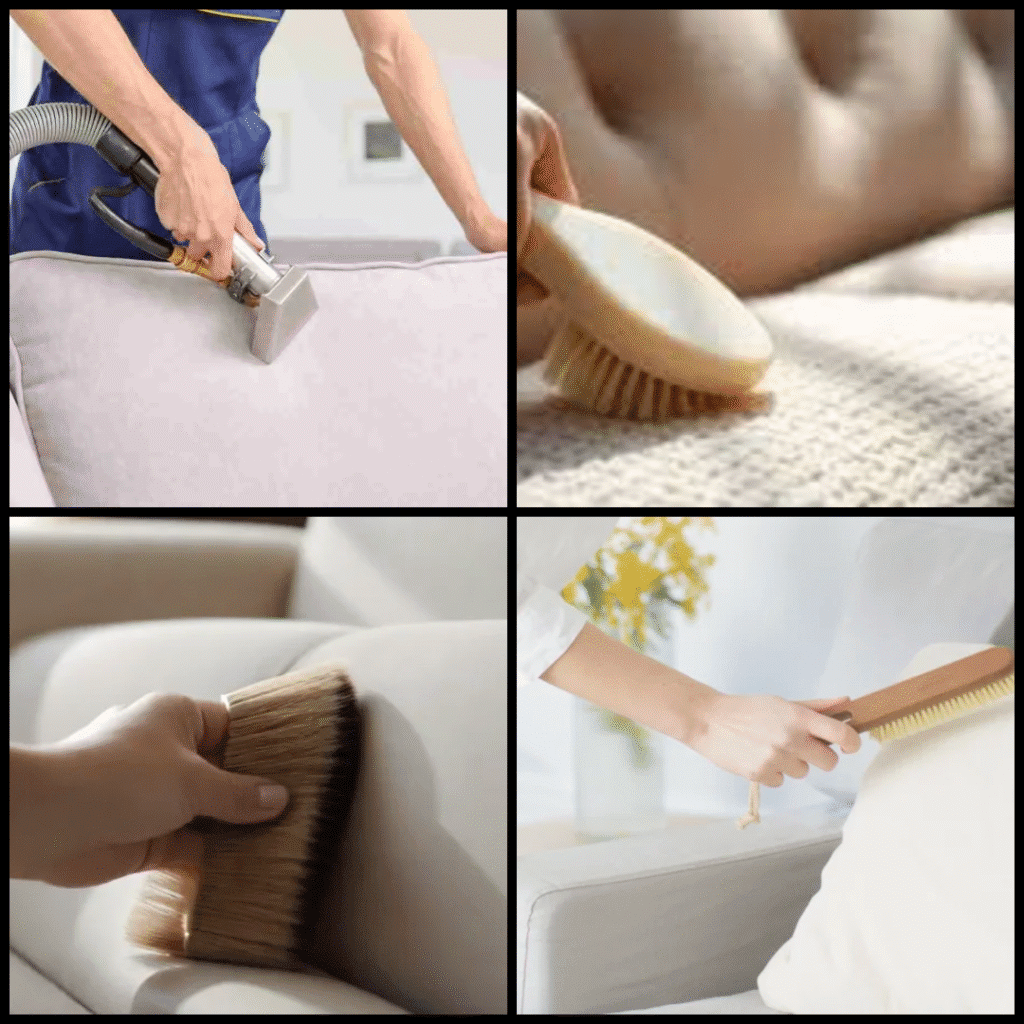
For sofas, chairs, and mattresses, use a vacuum with a soft upholstery attachment. Move slowly to allow the vacuum to lift dust, crumbs, and pet hair from seams and crevices. If the fabric permits, treat stains with a cleaner designed for that material, testing in an inconspicuous area first to check for colorfastness. In my experience caring for family homes with pets and kids, regular vacuuming of upholstery at least once a month greatly reduces the amount of deep cleaning needed later.
Curtains and blinds often collect dust but are easy to ignore. Light cotton curtains can usually be machine washed on cool and hung damp to reduce wrinkles, while heavier drapes may require professional cleaning based on fabric and lining. For blinds and shades, use a microfiber duster or cloth, working from top to bottom. If allergies are a concern, consider washing or vacuuming fabric window treatments every three to six months. Freshening these soft surfaces not only improves air quality but also brightens how rooms look and feel.
Letting In Light, Air, And A Sense Of Space
One of the most effortless spring cleaning tips is to use light and fresh air to your advantage. When weather allows, open windows for 15 to 20 minutes to exchange indoor and outdoor air, which helps reduce stale odors and humidity. If you live in an area with high pollen counts and allergies are a concern, check local pollen forecasts and ventilate during lower-pollen times, often early morning or after rainfall. Factual note: regular airflow can help reduce indoor pollutants, but it does not replace proper filtration or air purifiers where needed.
Clean windows, glass doors, and mirrors to maximize natural sunlight. Use a glass cleaner or a mix of water and a small amount of vinegar applied with a microfiber cloth or squeegee, and avoid abrasive tools that can scratch glass surfaces. Focus especially on windows in main living areas and near workspaces or reading nooks. From hands-on projects, I have found that clean glass can make a room feel significantly larger and warmer without changing any furniture or decor.
To create a greater sense of spaciousness, adjust furniture placement and reduce visual clutter. Consider removing one or two pieces of furniture from each crowded room, or at least clearing the tops of side tables and dressers. Group remaining decor items intentionally rather than spreading small objects everywhere. In my experience working on interior refreshes, simply giving objects more breathing room makes a space feel fresher, even if you have not bought anything new.
Kitchen And Pantry Refresh For Everyday Ease
The kitchen benefits from both deep cleaning and smart reorganization because it is the heart of daily routines. Begin by sorting the pantry and food cabinets. Check expiration dates on dry goods, condiments, and canned items, and create a “use soon” box for near-expiry foods. Factual note: some dry goods such as rice or pasta may remain safe shortly after their best-by date if stored correctly, but quality and flavor can decline, so rely on both dates and your senses.
Once food storage is sorted, remove everything from the fridge shelf by shelf. Wipe surfaces with a food-safe cleaner or a mild solution of warm water and dish soap, avoiding harsh chemicals that could linger near food. Dry thoroughly to prevent ice buildup or mold. Based on my real-world work with kitchen organization, assigning each shelf a job such as “leftovers,” “breakfast,” or “snacks” makes it far easier to keep the fridge tidy and avoid forgotten items.
Finish with key work areas: countertops, stovetop, and sink. Store non-essential appliances such as rarely used mixers or duplicate gadgets inside cabinets to keep counters open and easy to wipe down. For stovetops and ovens, use products suitable for your specific finish, whether glass, stainless steel, or enamel, and avoid abrasive pads unless the manufacturer explicitly indicates they are safe. In my experience, a clear countertop is one of the simplest visual signals of a clean, orderly kitchen and encourages more home cooking.
Bathroom Reset For A Spa-Like Feel
Spring is a good time to reset the bathroom so it feels more like a calm spa than a storage closet. Start by removing everything from open surfaces and cabinet interiors, then wipe shelves, drawers, and counters. Sort items into daily use, occasional, and expired or empty categories. Lotions, sunscreens, and makeup often have use-by dates that help ensure safety and effectiveness, so check packaging and dispose of outdated products properly according to local guidelines.
Once clutter is under control, deep clean fixtures. Apply bathroom cleaner to the sink, tub, and shower and let it sit for several minutes for better performance, especially on soap scum and mineral deposits. Scrub with a non-scratch sponge or brush suitable for your surface type, such as acrylic, porcelain, or natural stone. Factual note: acidic cleaners, including vinegar-based products, can etch some stone surfaces such as marble, so always verify compatibility before use. From hands-on bathroom projects, I have found that dwell time plus gentle scrubbing usually beats aggressive scrubbing alone.
To finish the refresh, focus on small details that affect how the room feels: clean mirrors, wash or replace shower liners, and launder bath mats and towels. Consider decanting everyday items like cotton pads into simple containers and limiting visible products to a few essentials. Based on my past work with clients, a less crowded bathroom counter instantly creates a spa-like impression, even if the finishes and fixtures are very basic.
Maintaining Your Freshly Cleaned Home With Minimal Effort
The most satisfying part of spring cleaning is maintaining that fresh feeling without constant effort. Create a short daily reset that takes 10 to 15 minutes: clear main surfaces, run the dishwasher or wash dishes, reset cushions and blankets, and do a quick sweep or vacuum of high-traffic floors. Factual note: frequent light cleaning removes grit and debris that can wear down floor finishes over time, especially on hardwood and laminate.
Add a weekly rhythm for deeper but still simple tasks. For example, set one day for bathrooms, one for floors, and one for laundry-related jobs like bedding or towels. In my experience working with busy households, tying tasks to specific days makes them more automatic and less likely to pile up. Use small baskets or trays in each room to collect items that migrate during the week, then return everything to its proper place during a weekly reset.
Finally, keep clutter from creeping back by using simple intake rules. Before new items enter your home, ask whether something similar can be donated or recycled to create a “one in, one out” habit. Use a permanent donation box in a closet or garage, and schedule a drop-off or pickup once it fills. From hands-on organizing work, I have found that this small system prevents the slow buildup of extra items and preserves the clean, calm atmosphere you created during your spring cleaning.
Conclusion: Enjoying A Lighter, Refreshed Home
Spring cleaning does not have to be a draining, once-a-year ordeal. With simple systems, quick decluttering strategies, and room-by-room deep cleaning, you can refresh your home in manageable steps and maintain that calm, orderly feeling all season long.

When you combine fast wins like surface decluttering with structured plans and efficient tools, the process becomes far less overwhelming. From hands-on work with clients and personal projects, I have seen that small, consistent actions such as daily resets, weekly rhythms, and smart storage matter more than perfection. Your home does not need to be flawless to feel fresh and supportive; it simply needs to be intentional.
By letting in light and air, refreshing fabrics, and caring for high-use spaces like kitchens and bathrooms, you create a healthier, more comfortable environment for everyone in the home. Spring is an invitation to realign your surroundings with the way you actually live today. With these effortless spring cleaning tips, you can step into the new season with a lighter, clearer space and more energy for the things that truly matter.

Maira Lindey is a home decor enthusiast who loves transforming ordinary spaces into warm, stylish havens. Through her writing, she shares simple, creative ideas that help people make their homes both beautiful and comfortable. Her approach combines aesthetic charm with practical solutions for everyday living.
With years of experience experimenting with colors, textures, and layouts, Maira enjoys guiding readers to express their personality through home design. She believes that even small changes can have a big impact, and she focuses on tips that are easy to implement without overwhelming the space or the budget.
Beyond decorating, Maira finds inspiration in nature, art, and everyday life. She encourages her readers to embrace creativity and make spaces that feel uniquely theirs, blending functionality with style in ways that are both inviting and livable.