Give old shutters new life with creative and practical home decor ideas that blend rustic character with modern style. This guide explores stylish ways to repurpose shutters into wall features, storage solutions, and personalized accents that feel curated instead of cluttered.
Old shutters do not belong in the landfill. With a bit of creativity, they can become rustic wall art, clever storage, and charming focal points that refresh your home decor on a budget while keeping waste out of the trash.
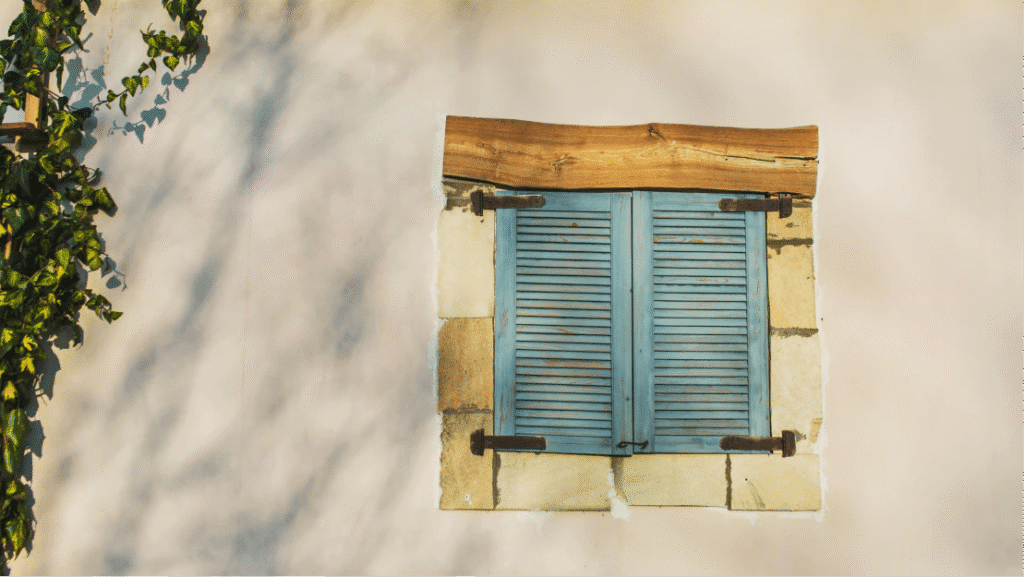
Rustic Wall Features From Vintage Wooden Shutters
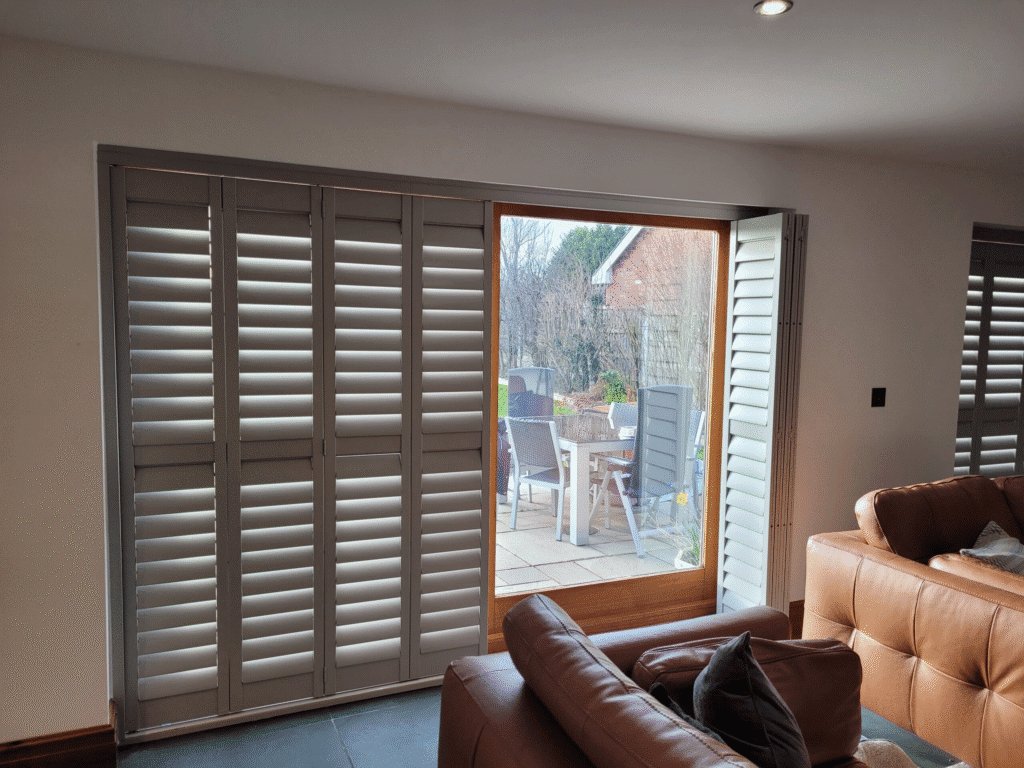
Vintage wooden shutters are ideal for creating rustic wall features that add texture and personality to a room. Their slats, chipped paint, and visible grain instantly bring warmth and a sense of history to otherwise flat walls. When used as wall decor, shutters work especially well in farmhouse interiors, cottage styles, and eclectic spaces that celebrate imperfection.
To use shutters as wall art, start by cleaning them with mild soap and water and letting them dry fully so the wood does not warp. You can:
- Hang a single tall shutter behind a console table to create a vertical focal point
- Group three or four narrow shutters in a row as a gallery-style installation
- Mix shutters in different colors for a casual, collected look
In my experience working on rustic interior projects, a large shutter or pair of shutters centered above a sofa often replaces framed art without making the room feel bare. For safety, make sure to use appropriate wall anchors that match the wall type and shutter weight so they stay secure. If paint is heavily flaking, consider lightly sanding and sealing to reduce dust while preserving patina.
Creating Weathered Accent Walls With Shutters
If you have several reclaimed shutters, they can form a full accent wall with incredible character. This works particularly well behind a bed, along a hallway, or in a dining room where visual texture makes spaces feel more intimate. Align the shutters vertically or horizontally depending on the effect you want.
For a cohesive look:
- Stick to two or three main colors such as white, gray, and soft blue
- Vary shutter widths but align the tops or bottoms for a deliberate design
- Fill gaps with narrow wood strips or leave slight uneven spaces for a more relaxed style
From hands-on work with clients, I have found that an accent wall of real wood shutters feels warmer and more substantial than wallpaper with a wood print. Because these pieces are heavier than typical wall decor, screw into studs where possible, or use heavy-duty anchors rated for the shutter weight. If you live in a humid climate, a clear water-based sealer can help minimize future warping while still retaining a natural look.
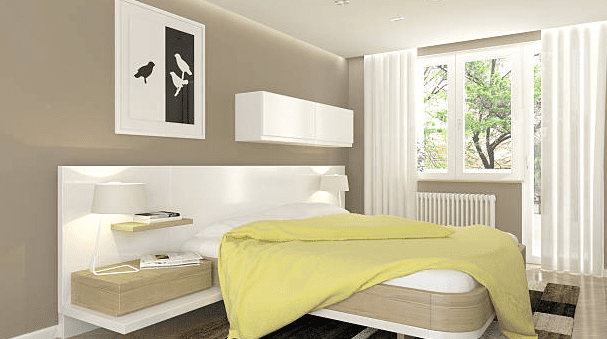
Shutters As Architectural Headboards
Repurposed shutters make excellent headboards that double as rustic wall features. They introduce height and visual interest, particularly in small bedrooms where bulky upholstered headboards can feel overpowering. Shutters can be stacked, placed side by side, or arranged in a gentle arch for a custom feel.
To build a shutter headboard:
- Measure your bed width and plan for at least 2 to 4 inches overhang on each side
- Use two or three panels for a queen bed, more for a king-sized bed
- Secure shutters together at the back with horizontal cleats or metal brackets
Based on my past work with bedroom makeovers, mounting the shutter unit directly to the wall rather than to the bed frame increases stability and makes cleaning easier. Ensure edges are sanded smooth so there are no splinters near pillows, and avoid heavily peeling lead-based paint if working with very old shutters. If you are unsure about lead, consult local guidelines or a pro before sanding.
Functional Storage Solutions With Repurposed Shutters
Repurposed shutters can also be incredibly functional when turned into storage solutions for everyday items. Their slats and panels lend themselves naturally to hooks, shelves, and organizers that keep clutter under control. This approach combines rustic decor with practical home organization, which is key in small homes and apartments.
One simple idea is to transform a shutter into a vertical entryway organizer. Mount it near your main door and add:
- Double hooks for coats, hats, and bags
- Small metal cups or wire baskets for keys and mail
- A clip-on mirror or small photo frames attached to the slats
From hands-on projects, I have found that narrow shutters are best for tight entryways where floor space is limited. Always pre-drill pilot holes before adding hooks to avoid splitting the wood, especially in older, drier shutters. Light sanding and a clear topcoat help maintain durability without losing that rustic charm.
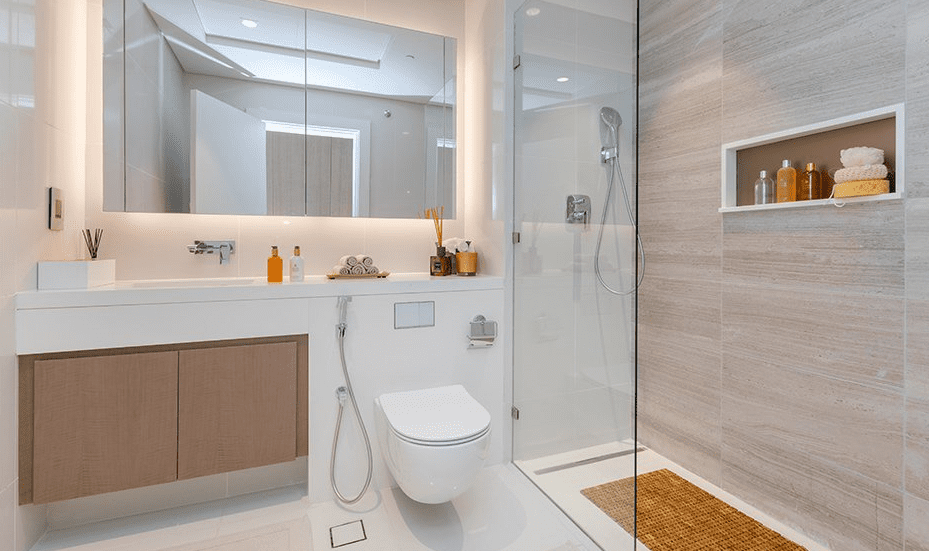
Shutter Shelving Units For Kitchens And Bathrooms
Kitchens and bathrooms benefit from storage that is both pretty and practical. Shutters can be used as the sides or backs of shelving units, bringing texture into spaces that often feel hard and glossy due to tile and fixtures. A pair of shutters works beautifully as side supports for rustic open shelves.
To create a shutter-based shelving unit:
- Use two shutters of the same height as the vertical supports
- Attach 2 or 3 shelves between them using sturdy brackets or cleats
- Anchor the entire unit to the wall for stability, especially in homes with children
In my experience designing small kitchens, shallow shelves made with shutters are perfect for spices, mugs, and small plants. Bathrooms benefit from shutter shelves that hold rolled towels, bath salts, or woven baskets. Because both rooms can be humid, seal unfinished wood with a moisture-resistant clear coat and leave at least 12 inches from direct water sources like tubs and sinks for longevity.
Repurposed Shutters As Closet and Laundry Organizers
Closet and laundry spaces are often overlooked, yet they are ideal spots to experiment with repurposed shutter storage. A painted shutter can act as a flexible organizer for accessories while adding charm to otherwise utilitarian zones. The slats are perfect for clipping and hanging items with minimal hardware.
Useful ideas include:
- Mounting a shutter inside a closet to hang scarves, belts, and jewelry using S-hooks
- Adding clothespins to the slats in a laundry room for drying delicate items or hanging socks
- Installing a shutter with small baskets for stain removers, dryer sheets, and sewing kits
Based on my past work with organizing projects, labeled baskets attached to shutters make it much easier for families to keep things in their place. When using shutters to store items in busy areas, confirm that screws and hooks are properly tightened every few months, since frequent handling can loosen hardware.
Color And Finish Ideas To Refresh Old Shutters
The finish you choose for repurposed shutters has a big influence on the mood of a room. Keeping original paint gives a more rustic, weathered decor feel, while fresh paint can pull shutters into a modern farmhouse or coastal style. Before deciding, consider the surrounding palette and how prominent you want the shutters to appear.
Classic options include:
- Soft white or cream for clean farmhouse interiors
- Muted blues, greens, or grays for relaxed coastal or cottage styles
- Deep charcoal or black for bold contrast in contemporary spaces
In my experience working with color consulting clients, lightly distressing a new coat of paint around edges preserves character without making pieces look overly shabby. When sanding or stripping old shutters, use proper protective gear and work in a ventilated area. Oil-based primers can help block tannins and old stains from bleeding through light-colored paint, while water-based topcoats reduce odor and dry faster.
Creating Two-Tone And Washed Effects
Two-tone and washed finishes work beautifully on shutters because the slats naturally catch and reflect subtle variations in color. These effects can soften strong colors and give a handcrafted feel that suits custom home decor. The goal is to enhance the wood grain and layers without making the piece seem overworked.
Approaches to try:
- Whitewashing with diluted paint to allow grain and old color to show through
- Adding a darker color in the slat recesses and a lighter shade on raised edges for depth
- Using a dry-brush technique where very little paint is applied for a sun-faded look
From hands-on refinishing work, I have found that testing finishes on the back of a shutter first prevents costly mistakes. Always let each coat dry thoroughly according to manufacturer instructions, usually 2 to 4 hours for water-based paints in normal conditions. For pieces in high-touch areas like entryways, a final clear coat protects the finish from scuffs and fingerprints.
Preserving Natural Wood For Organic Interiors
For more organic and minimalist interiors, leaving shutters in natural wood or stripping them back can be the best choice. This suits Scandinavian-inspired rooms and modern rustic designs where simple materials and light tones are prioritized. Natural wood shutters can complement linen, jute rugs, and neutral upholstery.
To showcase natural wood:
- Strip or sand off most of the old paint, being cautious of potential lead in very old coatings
- Use a wood conditioner before staining if the wood is soft, such as pine, to avoid patchiness
- Finish with a satin or matte water-based polyurethane for a soft low-sheen look
Based on real-world testing of finishes, matte topcoats hide minor surface flaws better than gloss, which can emphasize dents and scratches. For shutters placed near windows, a UV-resistant finish helps slow fading, although all natural wood will change color somewhat with sunlight over time. Regular dusting with a soft cloth keeps the surface looking fresh without harsh chemicals.
Using Shutters As Backdrops For Art And Greenery
Repurposed shutters make excellent backdrops that frame other decor elements rather than competing with them. Their repetitive slats add subtle structure, which pairs beautifully with art, framed photos, and indoor plants. This approach is useful when you want wall decor that feels layered but not cluttered.
One popular idea is to mount a shutter behind a smaller framed artwork or mirror. The shutter acts like an oversized mat that gives the piece more presence, particularly on large blank walls. To keep the look cohesive:
- Coordinate shutter and frame colors, either complementary or tone-on-tone
- Center the artwork on the shutter, using a template to mark hanging points
- Keep surrounding decor simple so the arrangement remains the focal point
In my experience working on gallery wall designs, pairing one substantial shutter-backed piece with smaller art nearby creates balance and avoids visual chaos. Make sure both the shutter and art are properly secured and that combined weight matches the rating of the hanging hardware.
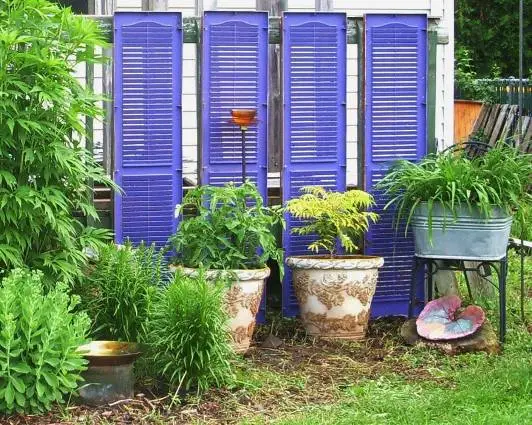
Vertical Gardens And Plant Displays On Shutters
Repurposed shutters also shine as vertical plant displays, especially in small apartments or balconies where floor space is tight. The slats and frame provide multiple places to attach hooks, small shelves, and hanging pots, creating a rustic vertical garden indoors or outdoors.
For plant safety and longevity:
- Choose plants suited to the light conditions, such as pothos and philodendron for low to medium light, or herbs and succulents for bright light
- Use lightweight pots and ensure good drainage with saucers or liners to protect walls
- Avoid overwatering; vertical displays dry out faster but can still suffer from root rot if soil stays soggy
From hands-on work with plant styling, I have found that starting with three to five plants of different heights is enough to make a shutter look lush without overwhelming it. If used outside, select exterior-rated hooks and screws, and consider yearly touch-ups on the finish since weather will age the wood more quickly.
Displaying Photos, Cards, And Mementos
Shutters naturally invite layering, which makes them ideal displays for photos, cards, and small mementos. The slats provide ready-made slots for tucking in printed items without needing frames, giving a casual and personal feel that works well in family rooms, kitchens, and home offices.
Ideas for shutter memory boards:
- Clip polaroids and postcards to the slats with mini clothespins
- String twine across the shutter and hang photos with small clips
- Add labeled tags next to special keepsakes like concert tickets or travel maps
Based on my past work with family gallery walls, rotating photos seasonally keeps the display from feeling stale and encourages you to print new memories rather than leaving them on devices. Be mindful of direct sunlight on treasured photos; prolonged exposure can cause fading, so consider using copies instead of irreplaceable originals.
Styling Shutters In Different Rooms Of The Home
Each room offers unique opportunities for repurposed shutter decor. In living rooms, shutters can highlight fireplaces, define reading nooks, or flank windows as decorative panels. In these social spaces, they contribute to a cozy, curated atmosphere that encourages lingering.
Practical ideas by room include:
- Living room: tall shutters behind side tables as visual anchors for lamps
- Dining room: a pair of shutters with wreaths or seasonal decor for a changing centerpiece wall
- Hallway: narrow shutters as a backdrop for hooks and slim shelves that hold keys or mail
In my experience working on full-home styling projects, repeating shutter elements in two or three rooms ties a decor theme together without feeling repetitive. Aim for variation in color or function; for example, painted shutters as art in one room and natural wood shutters as storage in another.
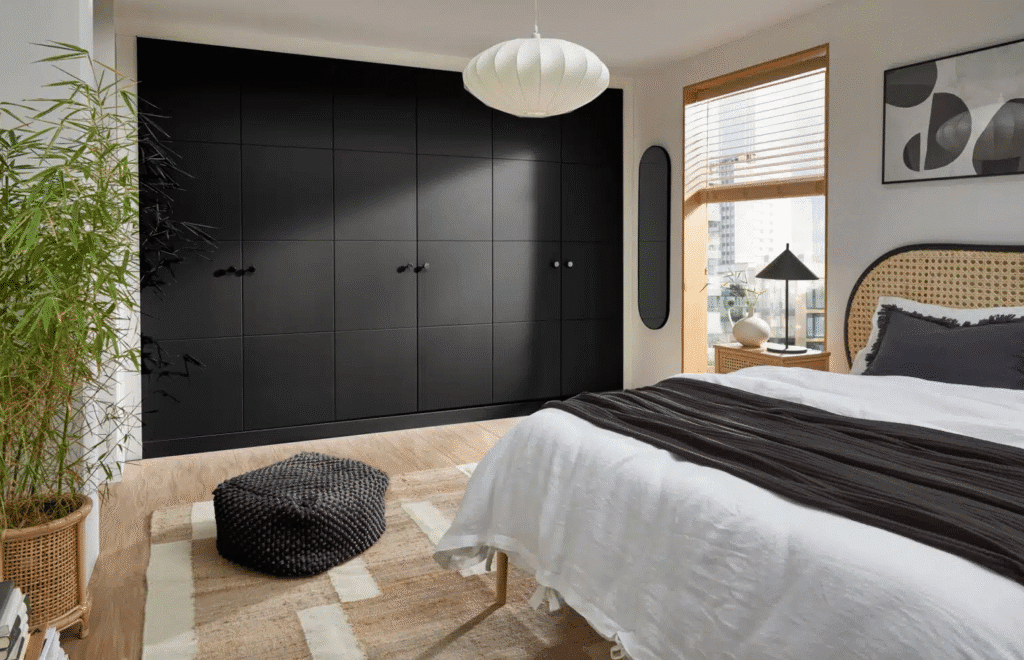
Incorporating Shutters In Bedrooms And Nurseries
Bedrooms and nurseries benefit from the softness and character of vintage shutters, but they also require extra attention to safety and calm. Headboards, wall art, and organizers should support rest rather than create visual noise. Soft colors and gentle finishes help here.
Consider:
- Shutter headboards painted in muted tones like dusty rose, sage, or light gray
- Small shutters as jewelry organizers with felt-backed areas to protect delicate pieces
- Nursery shutters used as art backdrops, securely mounted out of reach of children
From hands-on projects in kids’ rooms, I have found it is crucial to double-check all anchors, avoid sharp edges, and keep heavy pieces away from cribs and beds. Use low or zero VOC paints to reduce fumes, especially when decorating spaces for babies or individuals with sensitivities.
Shutters In Home Offices And Creative Studios
Home offices and creative studios are perfect places for functional shutter decor. They can boost organization while bringing warmth to tech-heavy spaces. The mix of wood and hardware naturally supports both creativity and structure.
Productive uses include:
- Pin boards made from shutters lined with cork tiles between the slats
- Paintbrush or tool organizers by adding horizontal dowels or small hooks
- Vision boards that mix printed goals, fabric swatches, and inspirational images
Based on real-world testing in my own workspace, having a vertical shutter organizer within arm’s reach helps keep desks clear and improves focus. Be sure to mount larger organizers at eye level when seated, roughly 48 to 54 inches from the floor to the center, for easy viewing without strain.
Budgeting, Sourcing, And Prepping Old Shutters

Part of the appeal of repurposed shutter decor is its budget-friendly nature. Shutters can often be sourced from salvage yards, architectural reuse centers, flea markets, and online marketplaces. Prices vary widely depending on age, size, and condition, but sets are usually more economical.
When budgeting:
- Factor in not only the cost of shutters but also hardware, paint or finish, and any extra lumber
- Plan for basic tools such as a drill, sandpaper, and a stud finder if you do not already own them
- Start with one or two small projects to refine your style before committing to a full wall
In my experience working with clients on DIY-friendly remodels, investing in solid mounting hardware and good quality primer saves money and frustration in the long run. Inspect shutters for rot, insect damage, or serious warping before purchase, since extensive repairs can erase initial savings.
Cleaning And Safety Preparation
Proper preparation is essential for both aesthetics and safety. Shutters may come with dirt, mold, or old finishes that need attention. Cleaning does not have to be complicated, but it should be thorough enough that new paint or sealer adheres properly.
Key steps:
- Scrub gently with warm water and mild detergent, then rinse and dry completely
- Address light mold with a diluted vinegar solution, taking care not to oversaturate the wood
- Lightly sand rough areas, avoiding aggressive sanding if you suspect lead-based paint
From hands-on experience with reclaimed materials, I recommend wearing a dust mask and gloves when sanding or cleaning older shutters. Dispose of sanding dust and paint chips responsibly according to local regulations. When in doubt about potential hazards, consult a professional or local environmental health resources.
Planning Layouts Before Committing
Because shutters are substantial visual elements, planning layouts in advance helps avoid regret. This is particularly important for large walls, headboards, or multiple pieces installed together. Taking time to experiment on the floor or with paper templates can clarify your design.
Helpful planning tips:
- Lay shutters on the floor in front of the intended wall to test arrangements
- Use painter’s tape on the wall to mark dimensions and positions before drilling
- Photograph different layouts and compare them after a short break to see what feels best
Based on my past work with wall installations, clients who take photos of several mockups are more confident in their final decisions. Aim for balance rather than perfect symmetry, especially when working with mixed sizes and finishes. Allow at least 2 to 4 inches of breathing room between large shutter groupings and nearby furniture or trim.
Conclusion
Repurposed shutters offer a powerful combination of visual charm, sustainability, and function. Whether you transform them into rustic wall features, clever storage solutions, or personalized backdrops for art and greenery, they bring authentic character that is hard to replicate with mass-produced decor. The key is to balance their weathered look with thoughtful placement, secure installation, and finishes that suit your home’s style.
From hands-on projects and client spaces, I have found that starting small with one shutter organizer or headboard often leads to a bigger vision for integrating reclaimed materials throughout the home. Each shutter tells a story and, when used intentionally, those stories layer into a space that feels lived-in, welcoming, and uniquely yours. With mindful sourcing, careful prep, and a bit of creativity, old shutters can become some of the most memorable pieces in your home decor.
Giving shutters a second life as wall features, storage, and decorative accents is a practical way to refresh your home while honoring the craftsmanship of the past. With careful planning and a willingness to experiment, you can turn forgotten pieces of wood into timeless elements that ground your rooms with warmth, utility, and character.

Maira Lindey is a home decor enthusiast who loves transforming ordinary spaces into warm, stylish havens. Through her writing, she shares simple, creative ideas that help people make their homes both beautiful and comfortable. Her approach combines aesthetic charm with practical solutions for everyday living.
With years of experience experimenting with colors, textures, and layouts, Maira enjoys guiding readers to express their personality through home design. She believes that even small changes can have a big impact, and she focuses on tips that are easy to implement without overwhelming the space or the budget.
Beyond decorating, Maira finds inspiration in nature, art, and everyday life. She encourages her readers to embrace creativity and make spaces that feel uniquely theirs, blending functionality with style in ways that are both inviting and livable.